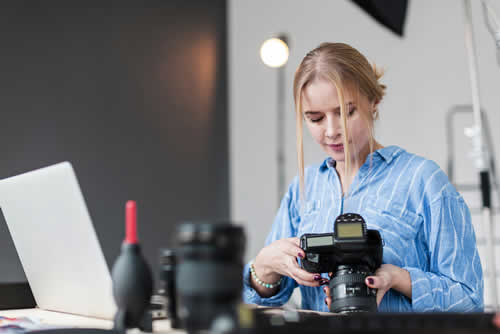
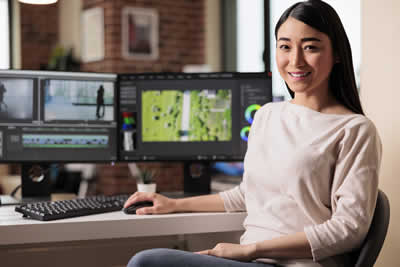
You can think of dealing with digital images as an essential requirement of personal and professional projects today, yet most of us aren't exactly experts in this area!
Yet it's quite easy for the layperson - who's usually working without any formal training - to improve the quality of their work with the help of a few snippets of knowledge.

If you're finding it challenging to manage your photos, consider utilizing
photo editing services for a truly professional touch. Though if you want to tackle this yourself - which is what this article is about - here are some simple tips to help you understand what it takes to become a master image manipulator!
Know Your Camera: Understanding Its Basic Features and Settings
Well, you know the old saying:
"cr*p in, cr*p out" and working with digital images is no exception!
So first of all, realize that the quality of the images lays the foundation of everything you do later. And good quality means that you won't just get better results, but you'll save yourself a stack of work too.
To get the best out of your digital camera, you need to understand its basic features, controls, and settings. Here are some key aspects to consider:
- Shutter Speed: This regulates how long your camera lens remains open to let light in. A faster speed can freeze action, while slower speeds can be used to create motion blur effects.
- Aperture: This controls the amount of light entering your camera. A wider aperture reduces depth-of-field, which in layman's terms means that focused objects are sharp against blurry backgrounds.
- ISO Setting: A higher ISO setting increases sensitivity to light, which is excellent for low-light situations. But it may also add noise or graininess, so don't overdo it.
Remember, mastering these essential settings will continually improve your photography skills over time - and the quality of your final output - so look at that instruction manual!

Using a Photo Editor for Post-Processing: A Beginner's Guide
Post-processing is an essential step in digital photography. Here, you fine-tune your work so it looks its best. Editing software can be expensive, so if you're a beginner,
this free photo editor is a great option to start you off - and will probably serve your needs for a long time to come.
Take a look at these key features:
- Exposure Correction: Adjust exposure by using the brightness, contrast, or gamma correction sliders.
- Color Adjustment: Enhance colors by altering saturation, vibrancy or tint.
- Noise Reduction and Sharpening: Clear out any graininess with noise reduction options and enhance clarity using sharpen tools.
Remember that getting proficient in any software package takes time. So don't shy away from experimenting until you achieve the results you want. Always remember that subtlety is often crucial, and "less usually equals more" in most creative fields...
Correcting Exposure in Digital Photography: Enhancing Your Photos
Exposure correction is another vital aspect of digital post-processing that can transform dull, overexposed or underexposed images into dynamic and appealing photographs. Here are a few tips to help you:
- Understand Histograms: A histogram is a graphical representation of your image's brightness values. The left side represents shadows; the right signifies highlights.
- Use Curves and Levels tools: These allow you to bring out more detail in shadows or dial down highlights that are too bright. Your software may include an "Auto" option that will often instantly transform your image, leaving you to fine tune the result.
- Experiment with HDR (High Dynamic Range) techniques for challenging lighting situations, and merging multiple exposures into one balanced image.
It's important to understand that correcting exposure often comes down to personal preference and artistic vision. As with many things in the creative world, there's no absolute "right" or "wrong" here, so feel free to tinker around until you find what best suits the kind of image you're going for.

Smart Cropping Techniques: Framing with Precision
Cropping goes beyond just reducing image size. It's a tool that can enhance your photo's composition, highlight key aspects, and improve its overall impact. Techniques you can implement include:
- The Rule of Thirds: Imagine intersecting lines dividing the frame into nine equal parts. Placing important elements where the lines intersect creates a more engaging composition. Try it!
- Focus on the Main Subject: Crop out unnecessary details to draw attention toward your main subject.
- Create Balance: Maintain visual balance by evenly spreading colors, lighting or objects across your frame.
- Play with Aspect Ratios: Altering aspect ratios can lend an artistic quality suited to specific platforms. For instance, a square image (that's 1x1) is suitable for social media posts - especially on mobile. Wider formats (like 16x9) produce panoramic shots that align with most desktop PC screen formats. And there are obviously a host of other sizes, so think about which best suits your purposes.
In short, effective cropping is about subtly guiding the viewer's eye toward your intended focal point in the image.

Making the Most of Filters: Adding Flavor to Your Shots
Filters can add a distinct dimension and mood to your photos, giving them an artistic edge. Here are a few tips for effective use of filters:
- Understand Purpose: Different filters have different purposes, from vintage and black and white to modern and vibrant. Choose one that reflects and enhances your message.
- Usage Balance: Don't overdo it! An exaggerated filtered effect may distract from the natural appeal. You don't want your image to look like an experimental high school project! Again, remember that less is often more.
- Batch Editing: If you have a series of images for a project, using similar filter settings across them all will create uniform styles, which is easy on the eye and is excellent for portfolios or social media feeds.
Finally, consider customizing pre-made filters to suit your unique preferences. This is where individual artistry strikes a perfect balance with automated features.
Wrapping Up
The above points should help you to form a basic understanding of working with digital photos. But of course the best way to learn about pretty well any subject is to get out there and do it!
So apply these tips to your next session of snapping and editing, and see where they lead you...


