Using the Ruler in Word can be very useful as it can give you easier access to certain functions and also allow you to align your paragraphs easier.
How To Turn The Ruler On In Word Video
Watch to see how to turn the ruler on in word
[ Video tutorial created by Activia Training and purchased by ZandaX ]
To activate it, click on the
View tab and tick the box marked
Ruler.
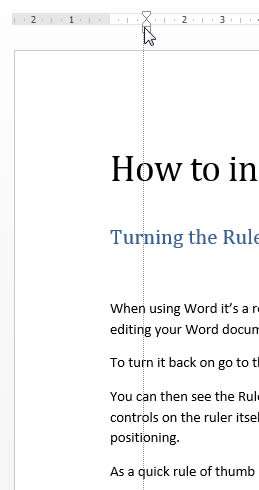
The Ruler will now reflect above your Word document. We explain on our training about the 3 little controls on the ruler itself and about the various custom tab stops available for complex data positioning.
The Ruler sliders indent data as needed.
Aligning paragraphs is discussed at length on our training courses but we will briefly discuss how to use the Ruler for professional alignment of your data and graphics within a report.
Moving the First Line indent in the Ruler will indent only the first line of the paragraph.
Moving the Hanging Indent will move the rest of the paragraph while leaving the first line of the paragraph in line with the margins.
Moving the Left Indent will move the entire paragraph.

While the ruler isn't essential for simple document creation, it will help with alignment of multiple paragraphs and lines and make your documents look more professional.
The ALT key shortcut for the Ruler is as follows:
Press
ALT then press the corresponding letter for the View tab (
W). The ribbon will assign all the functions inside the View tab a corresponding letter. The assigned shortcut key for Ruler is
R.
Note: the Gridlines checkbox and the Navigation checkbox buttons are available here as well. They are all part of the Show Group on the View tab.
The ruler also gives you a visual reference for the left and right hand margins. If you zoom in and out of the page, the ruler will always show you the margins and the scale is shown either in mm or inches.


